Description
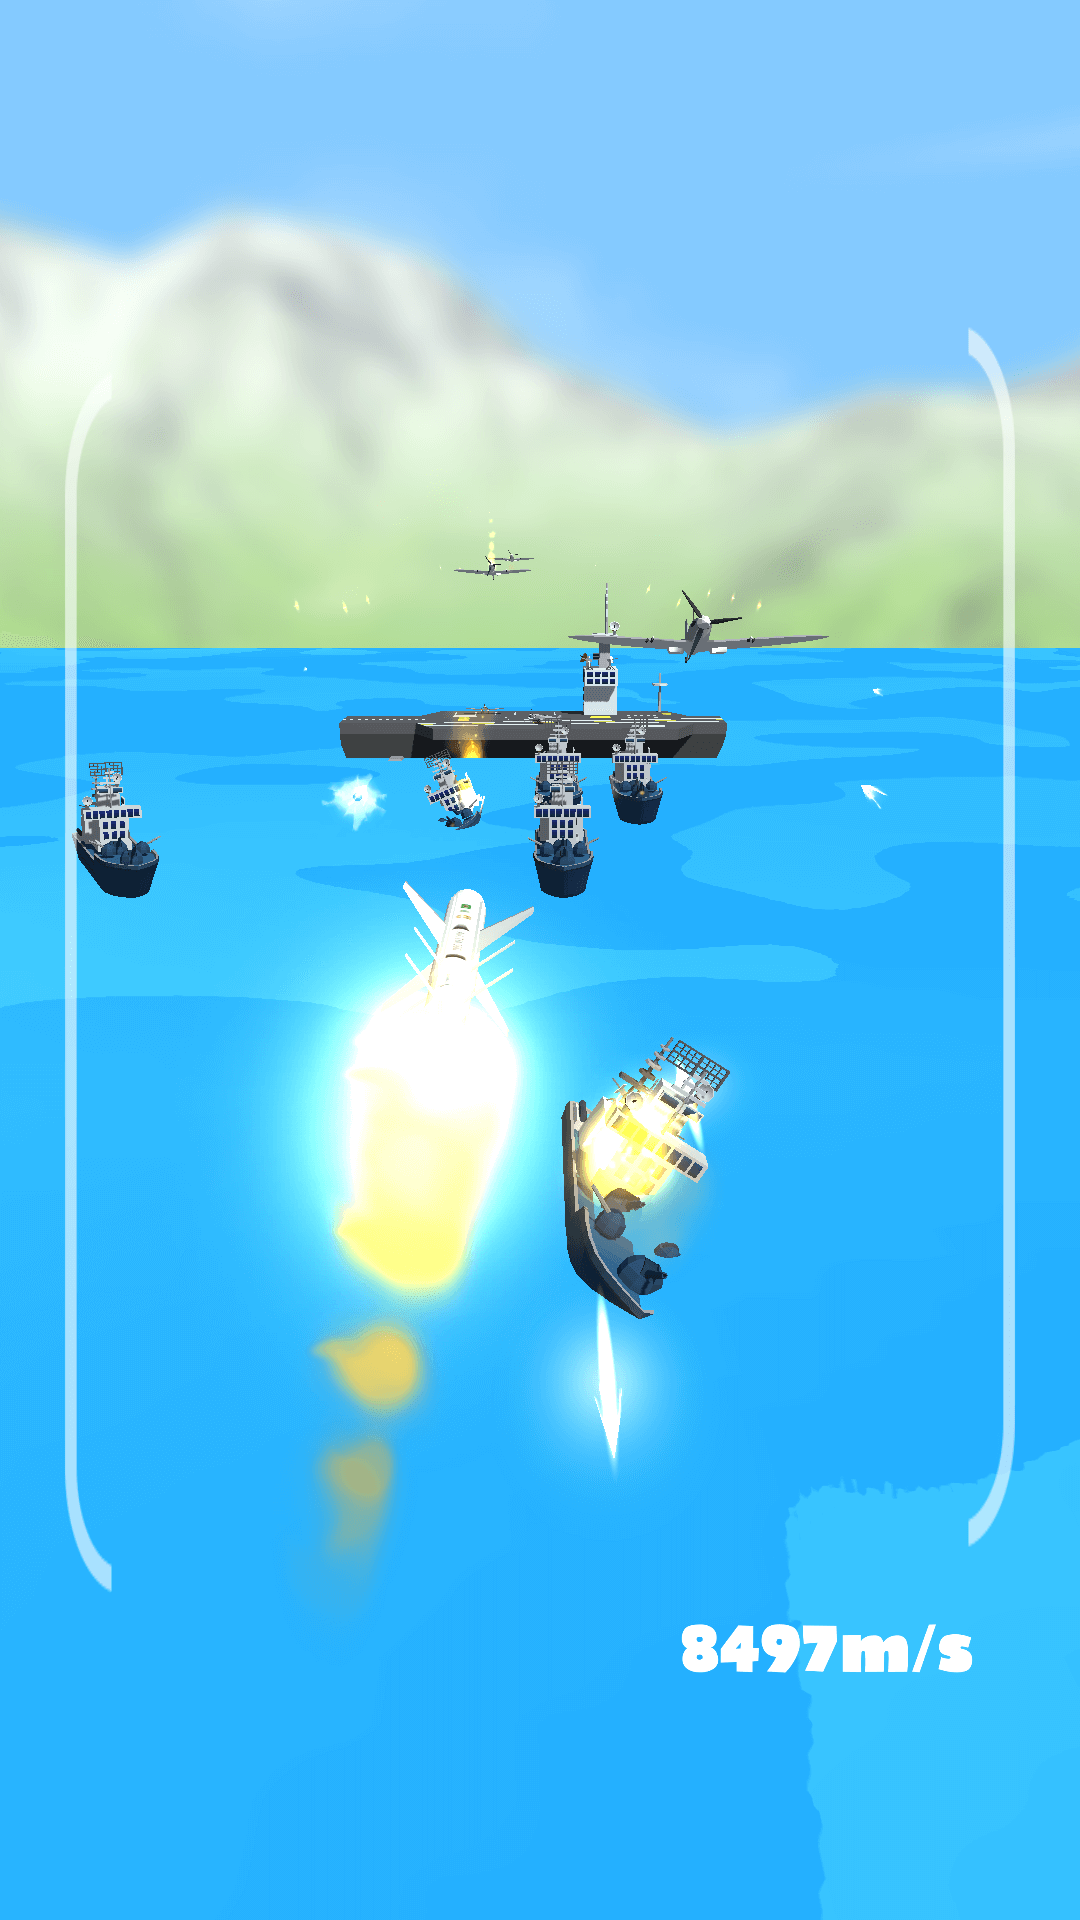
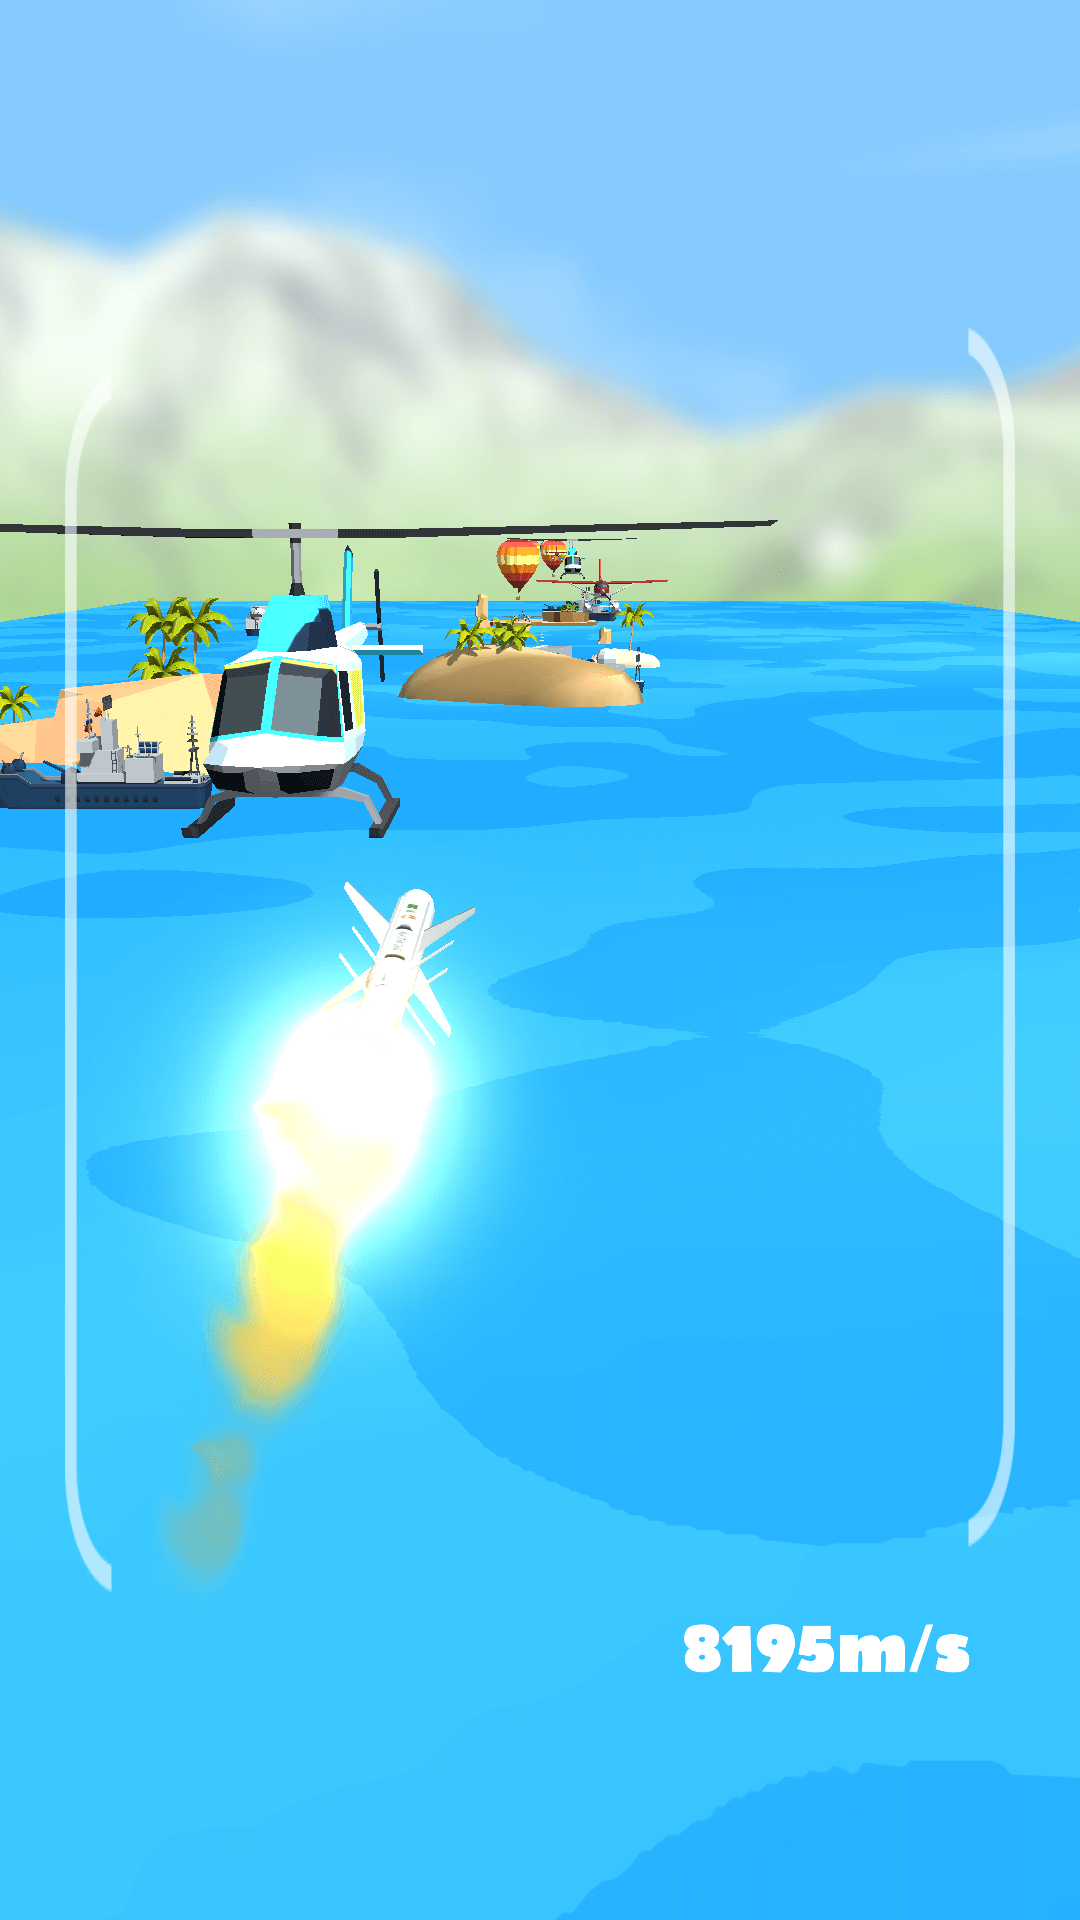
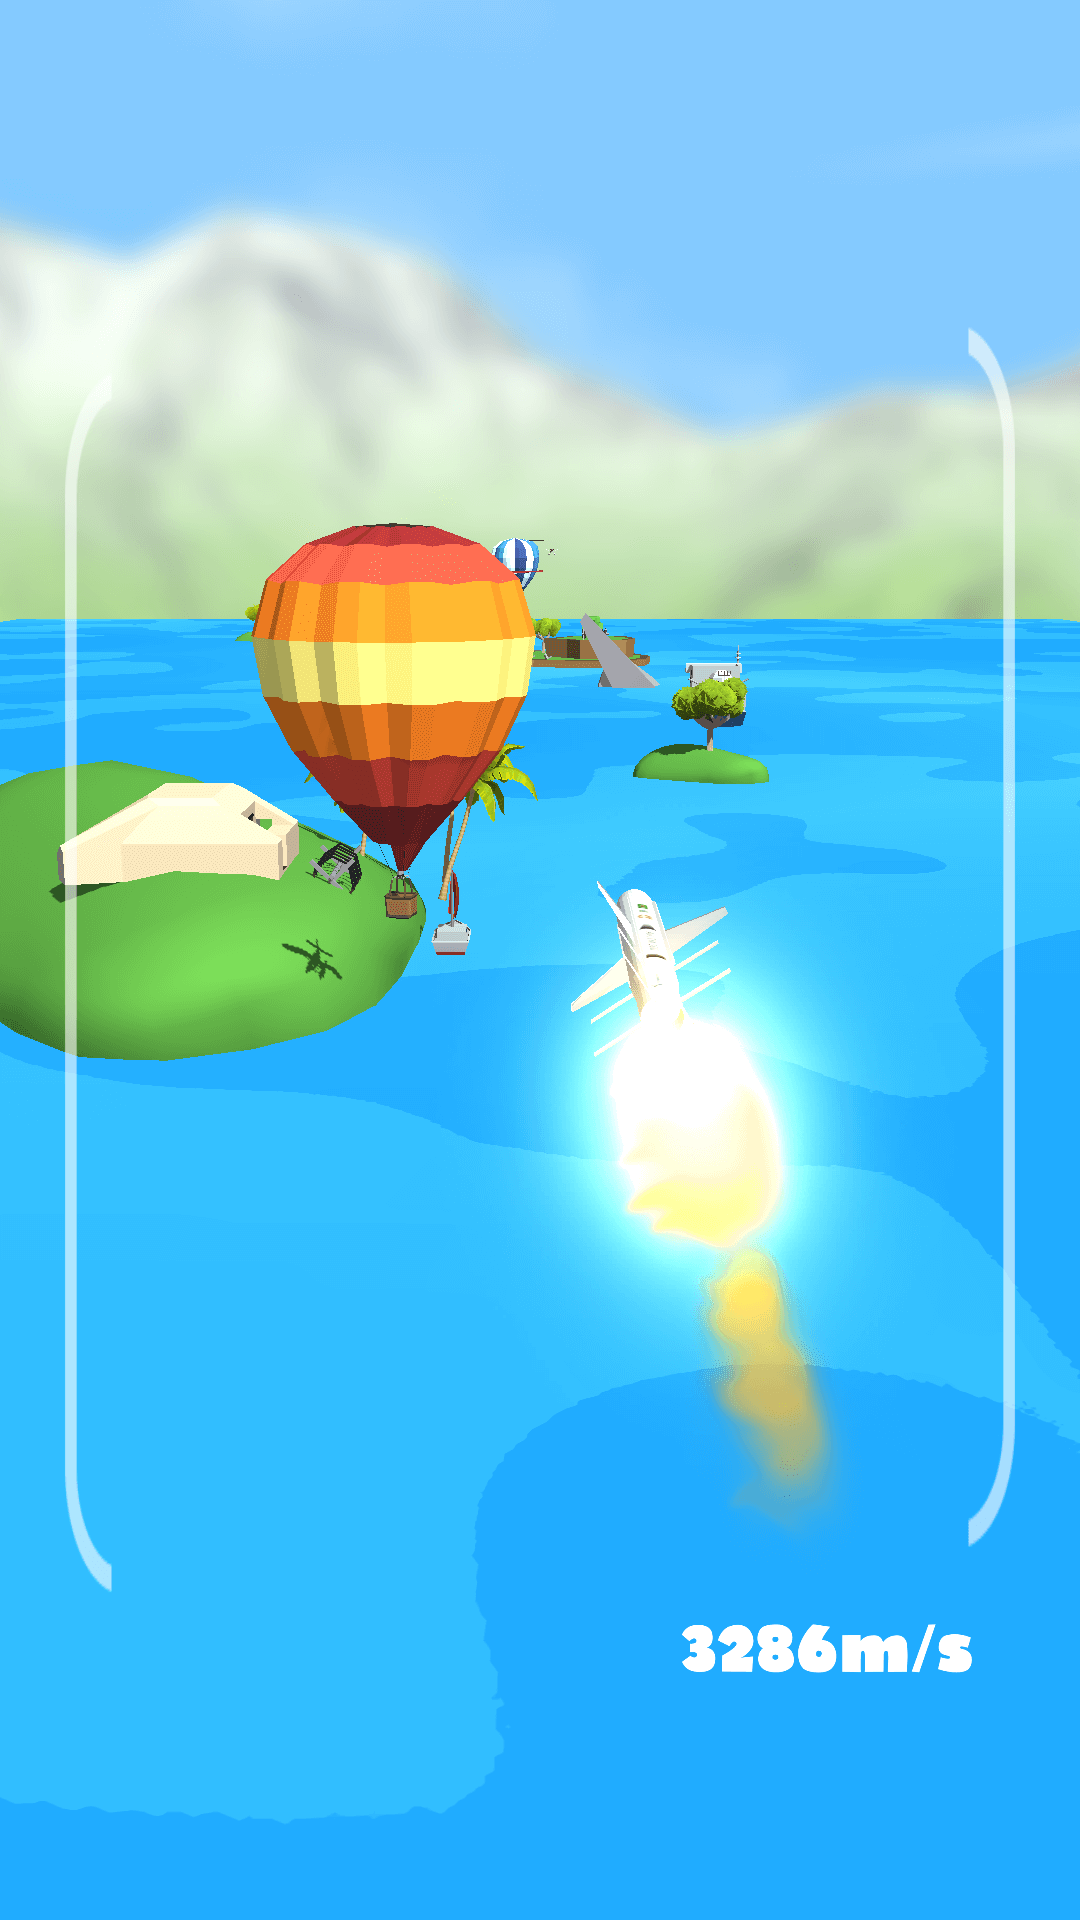
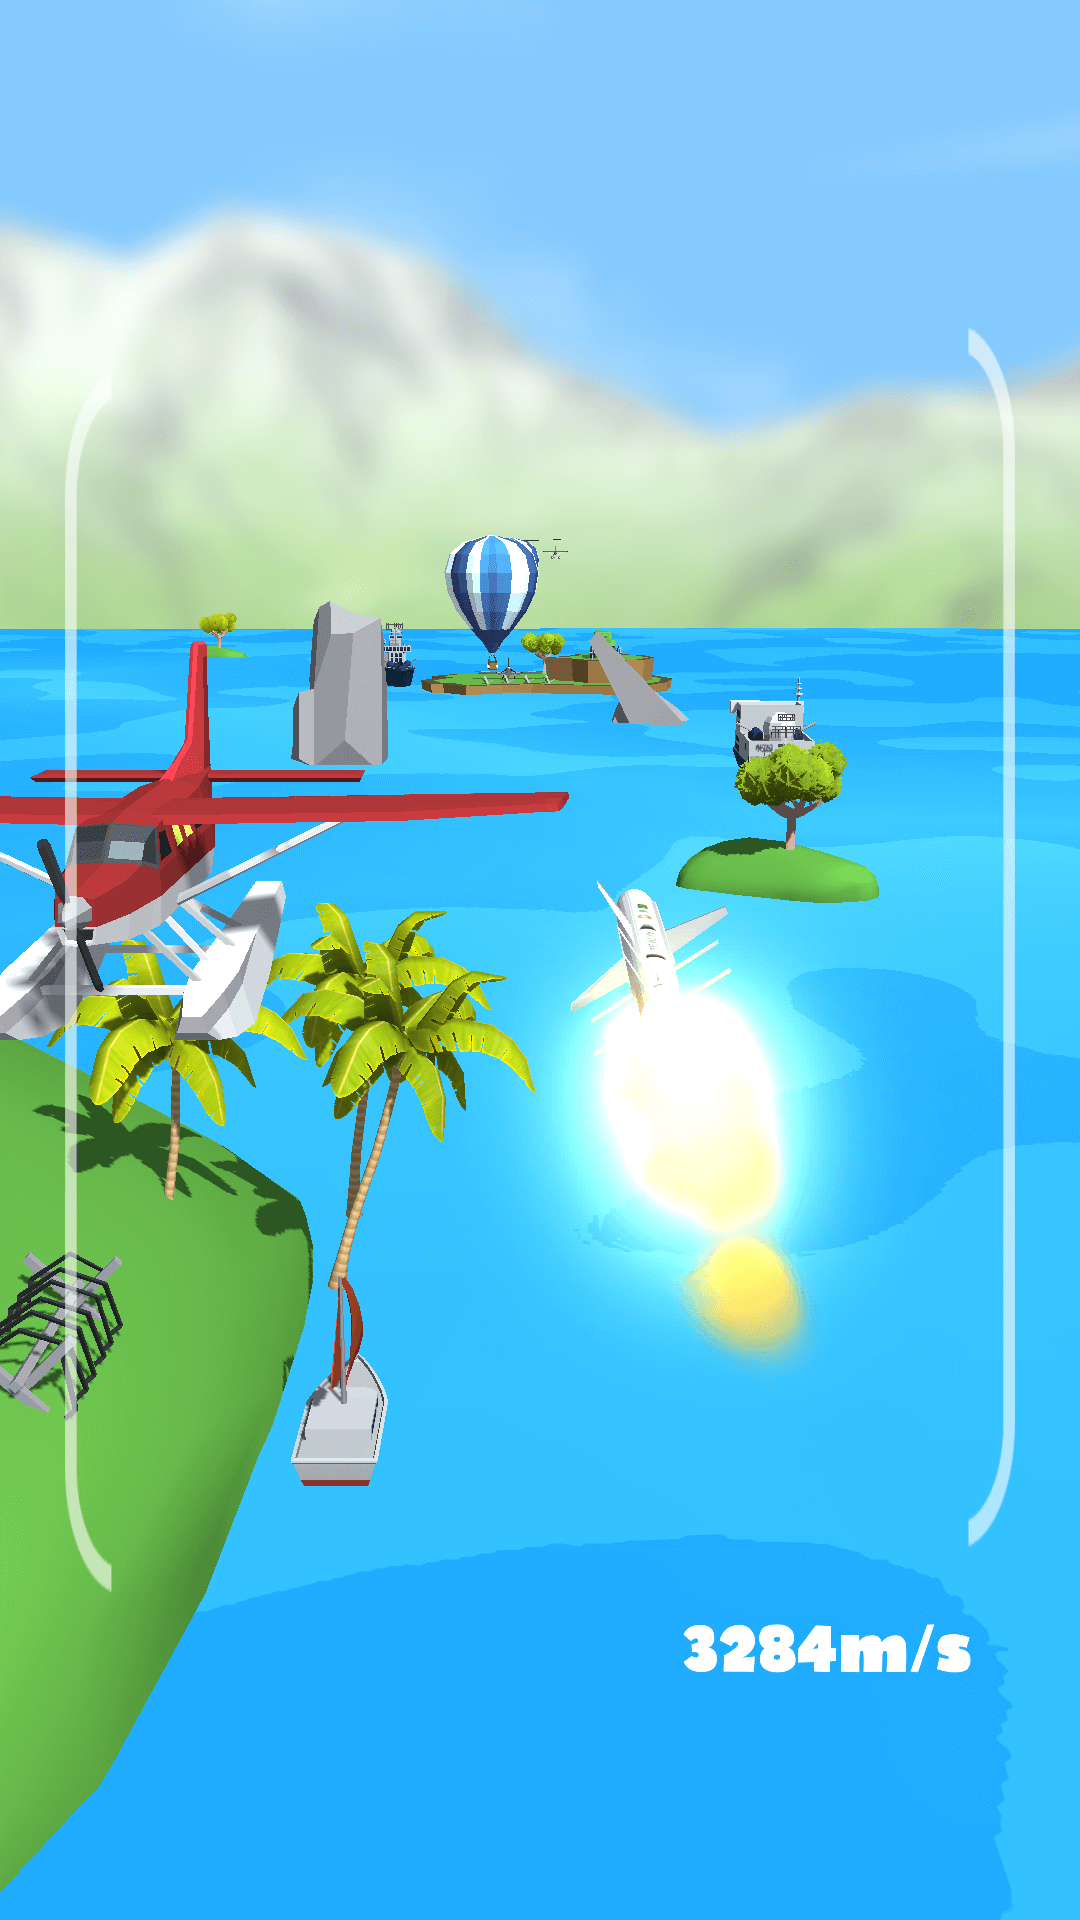
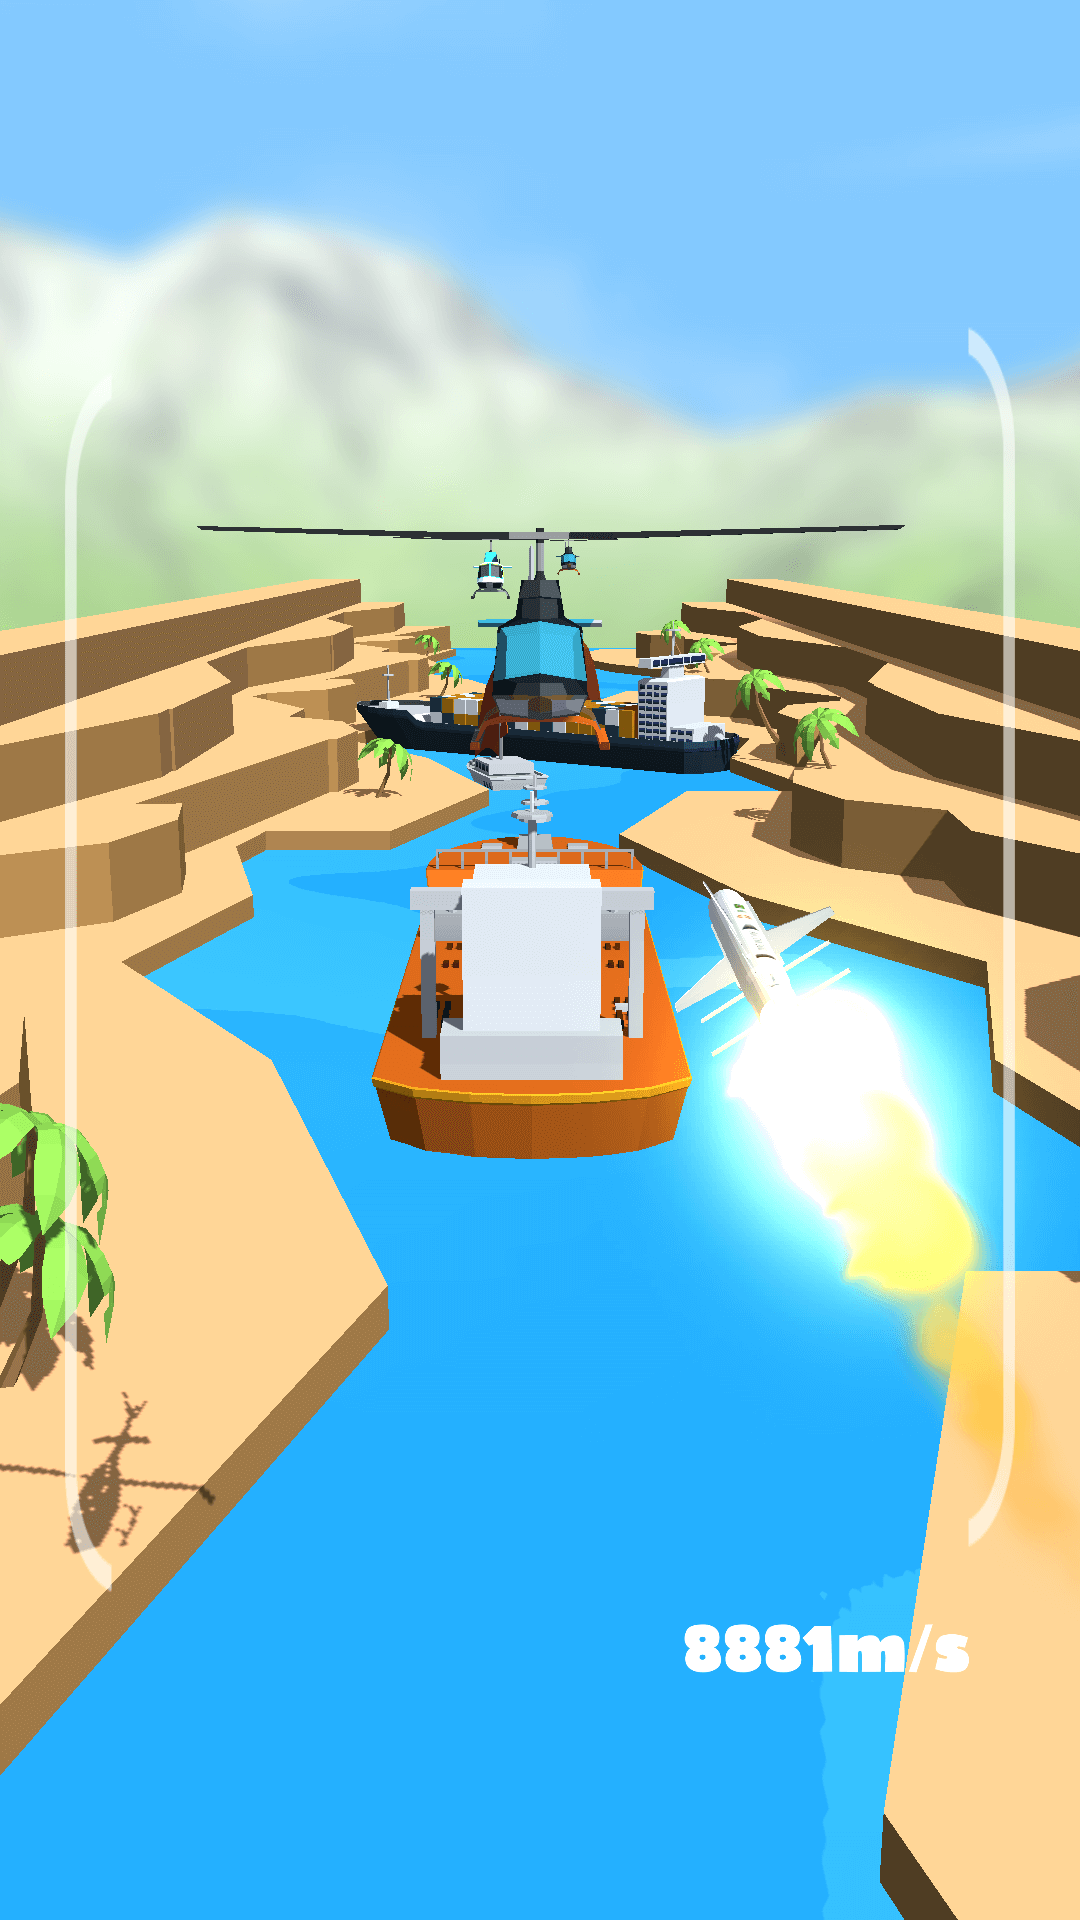
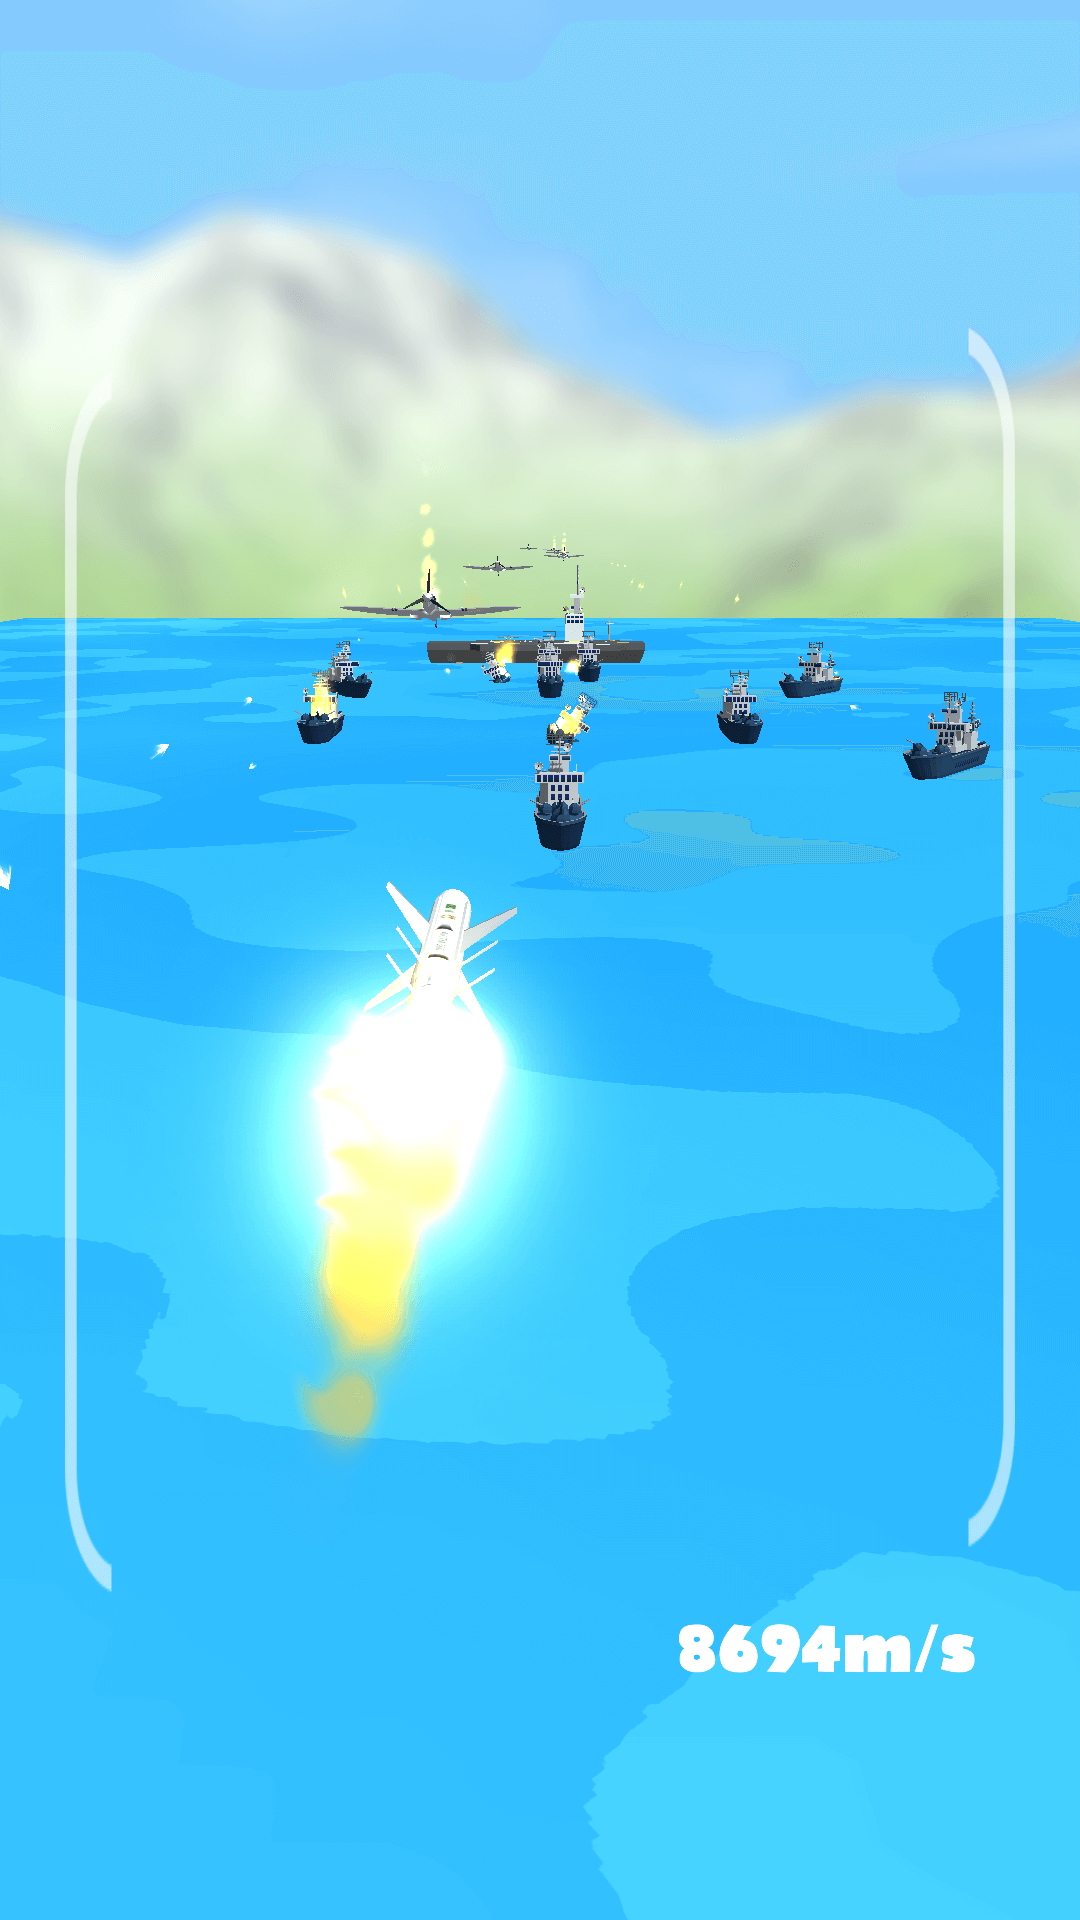
Add to wishlistMissile Fest 3D is an exciting level-based game in which you touch and swipe your finger left or right on the screen to move the Missile left-right while moving forward. You have to control the Missile avoids obstacles on the path and complete the level. The game is ready to release straight out of the box, and it can also be easily customized to make it even more engaging to your players. Supports for PC/Mac, iOS, Android, etc…!
This template is made with Unity C# and optimized for mobile devices. This template provides you a full-featured, ready-for-release game source code that you can customize and build your own game in no time!
- Hyper Casual Game
- 20+ Levels
- Stunning Graphics
- Admob ads Integrated
- Rewarded Interstitial Ads
- Simple and addictive gameplay
- Made in Unity 2019.4.18
- Awesome UI
- Easy Mobile Pro Include
READY TO PUBLISH
FOR TESTING THIS GAME: Demo Apk (Missile Fest 3D )
Features
★★★This is a completed game design, sound, effects, gameplay, full resource, full animation.
★★★Ads Monetization: Google Admob Ads integrated (Banner, Interstitial, Rewarded Video)
★★★Sounds: sound effects are included with a setting to mute sounds in the game
★★★Multiple screen sizing for most mobile devices
★★★Professional and clean code, clean projects
★★★Simple and attractive
★★★Easy reskin for all platforms.
★★★New Developer-friendly
★★★Increasing gameplay difficulty
★★★Coin system
★★★Responsive UI
★★★Compatible with mobile and desktop
★★★Support for Unity 2019 or higher
★★★Support build 64Bit, API 29
★★★Support build Android App Bundle (AAB)
Requirements
★★★ Unity free license version 2019.4.18
★★★ Android SDK latest
★★★ Use NDK for il2cpp build
★★★ Install JDK, JRE and set its Environment PATH
Instructions
This is Simple and Basic Instruction for making APK or AAB.(For New Unity’s Developer)
★★★Step 1: Install Unity 2019.4.18 Without errors
★★★Step 2: Unzip project folder and Open Project into Unity
★★★Step 3 : Click on File Menu-> Build Settings -> Select Android -> click on Switch Platform
★★★Step 4 : Click On Edit->Project Settings -> Player ->
a. Set your Company name, product name and Default Icon
b. Click on Other Settings -> Change Package name
c. Click on Publishing Settings -> set your Keystore and password,(Note: if you have not then first create the new Keystore for signing app)

